Create and Manage Media Files
The Media Library allows you to upload, edit, and manage media files for use in your Brightspace course. It also includes access to the Capture Web app, which allows you to create media recordings, such as presentations and videos, directly from your browser.
You can find the Media Library in the navbar of your course, under More > Media Library. Your media library contains only your own files; currently it’s not possible to share media files with other instructors.
Manage Media Files
-
Upload files from your computer by clicking on Upload File at the top left of the page. Select the file to upload. After the upload is complete, the file will appear in the Media Library.
-
You can edit your media files in the Media Library, whether they were created in Brightspace or not.
To edit your file:
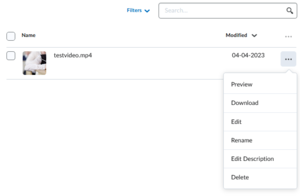
1. Open the Options menu (three dots; see image below) on the file you wish to edit.
2. Select Edit.
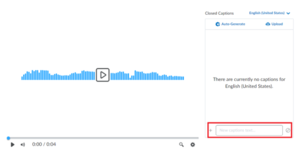
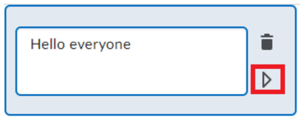
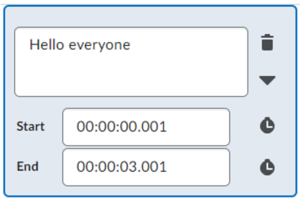
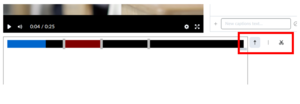
3. To add or edit closed captions, open the Closed Captions view to the right of the preview screen.a) To add your own captions, use the “New captions text” box at the bottom of the menu. b) Enter the start and end time of your caption with the dropdown button next to your created caption. c) Optionally, use the Auto-Generate option to create generated captions. d) Alternately, you can Upload your own pre-made file. e) It is also possible to download auto-generated captions, edit them, and re-upload the new text. 4. Mark or Cut the video using the progress bar and options in the Edit menu.
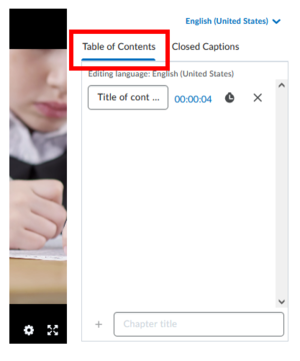
5. Add Chapters in the Table of Contents on the right side of the preview.
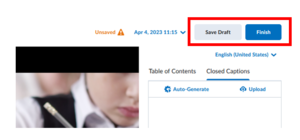
6. Select Save Draft if you intend to continue working on the file. Select Finish when the file is finalized.
When editing a media file, be aware that the changes you make will be saved to every place the file has been shared.
-
Files available in your Media Library can be added to your course content.
1. Go to Content in your course menu.
2. Go to an existing module, or add a new module by clicking Add a module… at the bottom of the page.
3. Within the module, select Upload / Create > Create a File.
4. Within the file, select Insert Stuff, then choose Media Library.
5. Select the file you wish to add, then click Next.
6. Change the size of the file if necessary, and then select Insert.
Create Recordings with Capture
-
1. To create a recording with Capture open your Media Library from the navigation menu.
2. Select Create Recording to begin.
3. To start a recording click on Start Recording in the middle of the page.
4. To finish the recording click the Finish Recording button at the bottom left of the page.
5. The Capture app has additional settings you can use in creating your presentation:- If your browser has webcam permissions enabled, you can use the Camera toggle to turn it on or off.
- Use the Share Screen option to select what part of your screen you would like to include in your recording.
- To change your camera or microphone inputs, or to test your microphone, use the Change Inputs options.
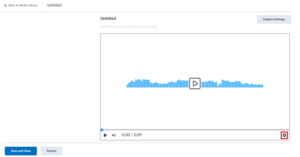
6. Once you have finished recording, you can change the Title and add a description.
7. Optionally you can add captions by using the Caption Settings.
8. To save your recording, select Save and Close. Alternatively, you can discard your current recording and start over by selecting Restart.
9. Your recording will automatically save to your Media Library. You can Edit it from there.
Capture Web currently only supports Firefox, Chrome and Microsoft Edge for desktop. Mobile browsers and Safari are not supported.
Need support?
Get in touch with us! We are happy to help.
